What you’ll learn in this guide:
- How to identify your current phone system type
- Step-by-step integration for VoIP, traditional landlines, and PBX systems
- Setting up conditional vs. unconditional call forwarding
- Testing your integration to make sure every call is handled
- Keeping your existing phone number while adding AI voice capabilities
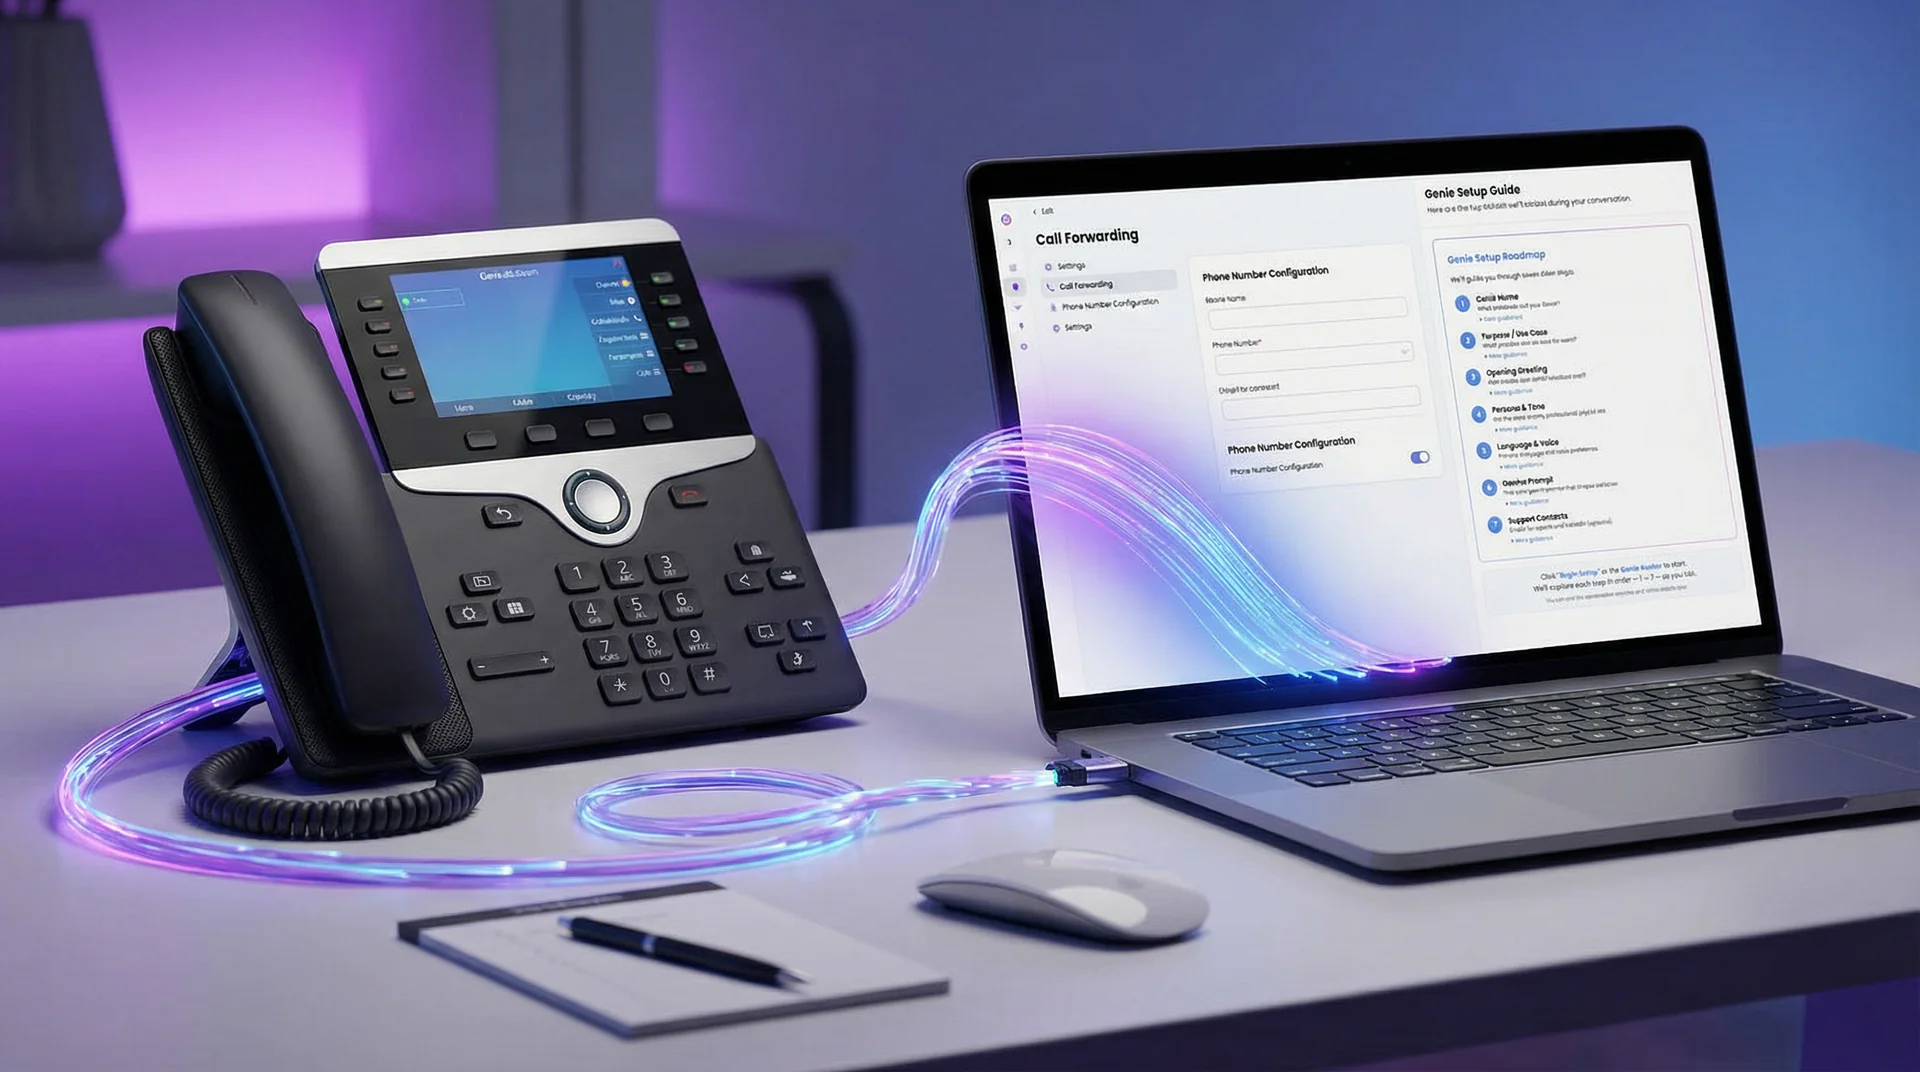
The number one question new Help Genie users ask after setting up their voice genie is: “How do I actually connect this to my phone?” You’ve configured your genie, trained it on your business, set up call routing. But the last mile — getting your existing business phone number to ring through to Help Genie — is where many people get stuck.
The good news: it’s simpler than you think. You’re not replacing your phone system. You’re not changing your phone number. You’re adding a layer of intelligence on top of what you already have. Callers dial the same number they always have. The calls just get smarter.
This guide covers every common phone system type: VoIP services like RingCentral and Grasshopper, traditional landlines, multi-line PBX systems, and cloud phone platforms. Find your setup and follow the steps.
Integration Overview
Step 1: Identify Your Phone System Type
Before setting up anything, you need to know what you’re working with. Different phone systems have different integration paths.
What to do:
- Determine which type of phone system your business uses
- Find your admin login or provider contact information
- Check if your current plan supports call forwarding (almost all do)
Phone system identification guide:
| If You Use… | You Have | Integration Method |
|---|---|---|
| RingCentral, Vonage, 8x8, Dialpad | Cloud VoIP | Self-service forwarding in admin panel |
| Grasshopper, Google Voice, OpenPhone | Virtual phone system | Self-service forwarding in settings |
| AT&T, Verizon, T-Mobile business line | Traditional landline or cellular | Carrier-activated forwarding (dial code or call to activate) |
| Cisco, Avaya, Mitel on-premises system | PBX system | IT admin configures forwarding rules |
| Microsoft Teams, Zoom Phone | UCaaS platform | Admin panel forwarding or auto-attendant routing |
What success looks like: You know exactly what phone system you have and where to access its forwarding settings.
Help Genie Tip: Not sure what phone system you have? Check your monthly phone bill. The provider name is on the invoice. If your phones are managed by an IT company, ask them what system is in place and whether they can set up call forwarding for you.
Step 2: Get Your Help Genie Phone Number
Every Help Genie account comes with a dedicated phone number. This is the number your existing phone system will forward calls to.
What to do:
- Log in to your Help Genie dashboard
- Go to Settings > Phone
- Your Help Genie number is displayed at the top of the page
- Copy this number — you’ll need it for the forwarding setup
- If you haven’t been assigned a number yet, click “Get Phone Number” and choose your preferred area code
Important notes about your Help Genie number:
- This number is dedicated to your account. Nobody else uses it.
- Your customers will never see this number. They’ll continue calling your existing business number.
- The number works 24/7, regardless of your configured business hours (routing rules handle the rest).
- You can request a number with a local area code to match your business region.
What success looks like: You have your Help Genie phone number copied and ready to enter in your phone system’s forwarding settings.
Step 3: Set Up Call Forwarding
This is the core integration step. You’re telling your existing phone system: “Send calls to this Help Genie number.” The exact steps depend on your phone system type.
Option A: Cloud VoIP Systems (RingCentral, Vonage, 8x8, Dialpad)
What to do:
- Log in to your provider’s admin portal
- Navigate to Phone Numbers or Call Handling
- Select your business phone number
- Look for “Call Forwarding” or “Routing Rules”
- Choose your forwarding type:
- Always forward: Every call goes to Help Genie (recommended if Help Genie is your primary answering system)
- Forward on no answer: Calls ring your desk first, then forward to Help Genie after 3-4 rings (good if you have front desk staff)
- Forward when busy: Calls forward to Help Genie only when all lines are occupied
- Time-based forwarding: Forward to Help Genie only during specific hours (ideal for after-hours automation)
- Enter your Help Genie number as the forwarding destination
- Save and test
Option B: Virtual Phone Systems (Grasshopper, Google Voice, OpenPhone)
What to do:
- Log in to your account dashboard
- Go to your phone number settings
- Find “Call Forwarding” or “Extensions”
- Add your Help Genie number as a forwarding destination
- Set the forwarding conditions (always, no answer, time-based)
- For Grasshopper: Settings > Phone Numbers > [Your Number] > Call Forwarding
- For Google Voice: Settings > Calls > Call Forwarding
- Save and test
Option C: Traditional Landlines (AT&T, Verizon, local carrier)
What to do:
- For unconditional forwarding: Pick up your phone and dial
*72followed by your Help Genie number, then press call. Wait for a confirmation tone. - For no-answer forwarding: Dial
*71followed by your Help Genie number (this forwards after ~4 rings if nobody answers) - For busy forwarding: Dial
*90followed by your Help Genie number - To deactivate later: Dial
*73for unconditional,*71for no-answer,*91for busy
Note: These dial codes work for most US carriers. If they don’t work, call your carrier’s business support line and ask them to set up call forwarding to your Help Genie number.
Option D: PBX Systems (Cisco, Avaya, Mitel)
What to do:
- Contact your IT administrator or managed service provider
- Ask them to set up an outbound forwarding rule on your main business number (or specific extensions)
- Provide the Help Genie number as the forwarding destination
- Specify the forwarding conditions (always, no answer after X rings, time-based schedule)
- Ask them to test from multiple extensions to verify
For IT administrators: Help Genie accepts standard SIP calls. If your PBX supports SIP trunking, you can route calls directly without traditional forwarding. Contact Help Genie support for SIP configuration details.
Option E: UCaaS Platforms (Microsoft Teams, Zoom Phone)
What to do:
- Open your admin center (Teams Admin Center or Zoom Admin Portal)
- Navigate to Phone Numbers > [Your Business Number]
- Set up a call queue or auto-attendant that includes your Help Genie number as a routing destination
- Configure the conditions: overflow, after-hours, or all calls
- Test from a Teams/Zoom phone to verify routing
Forwarding Type Decision Guide
What success looks like: Call forwarding is configured in your phone system with the correct Help Genie number and the forwarding type that matches your needs.
Help Genie Tip: If you’re not sure which forwarding type to choose, start with “forward on no answer” set to 3-4 rings. This lets your staff pick up when they can and sends overflow to your voice genie. You can always switch to “always forward” later if you prefer.
Step 4: Test Your Integration
Testing is essential. A forwarding rule that looks correct in settings can behave differently in practice. Test every scenario before considering yourself live.
What to do:
- Call your business number from a personal phone (not from a phone on your office network)
- Let it ring and verify the voice genie answers (for no-answer forwarding, don’t pick up at your desk)
- Have a full test conversation with the voice genie to verify it works end-to-end
- Test during different scenarios:
- Call when your staff is available (for no-answer forwarding, verify it rings the desk first)
- Call when nobody answers
- Call during configured after-hours
- Call when the line is busy (have someone else calling at the same time)
- Check your Help Genie dashboard for the test call records
- Verify notifications are coming through (SMS, email, or both)
Test checklist:
| Scenario | Expected Behavior | Pass/Fail |
|---|---|---|
| Call during hours, staff available | Desk rings first | |
| Call during hours, no answer | Genie picks up after 3-4 rings | |
| Call after hours | Genie answers immediately | |
| Call when line busy | Genie handles overflow | |
| Full conversation test | Genie captures info correctly | |
| Dashboard shows call record | Transcript and summary visible | |
| Notification received | SMS/email arrives promptly |
What success looks like: Every scenario in your test checklist passes. Call records appear in your Help Genie dashboard within seconds of the call ending.
Step 5: Monitor and Optimize Your Integration
Your integration is live. Now make sure it stays healthy and optimize it based on real usage patterns.
What to do:
- Monitor your Help Genie dashboard daily for the first week
- Check for these potential issues:
- Calls not forwarding: Verify your forwarding settings haven’t been reset (some systems reset after updates)
- Delayed forwarding: If the voice genie takes too long to answer, reduce the number of rings before forwarding
- Audio quality issues: Poor audio usually means a network issue between your phone system and Help Genie. Contact your VoIP provider if you notice degradation
- Double answering: If both your staff and the voice genie answer, your forwarding type is set to “always” when it should be “no answer”
- Review call analytics:
- How many calls did your voice genie handle vs. your staff?
- What percentage of forwarded calls resulted in captured leads?
- Are there peak times when more calls overflow to the genie?
- Adjust forwarding rules based on what you learn:
- If most calls go to voicemail anyway, switch from no-answer to always forward
- If your staff handles morning calls well but afternoons are busy, set time-based forwarding for afternoons only
- If you’re getting too many after-hours calls about the same topic, update your voice genie’s knowledge base
Ongoing maintenance:
- Monthly: Verify forwarding is still active (some carriers reset forwarding after billing changes)
- After phone system changes: Re-test forwarding whenever you upgrade your phone system, change carriers, or add lines
- After Help Genie updates: Check your dashboard after any Help Genie updates to make sure your integration is unaffected
What success looks like: Your forwarding works reliably, calls are answered promptly by either staff or your voice genie, and your dashboard shows a healthy flow of captured leads and handled calls.
Troubleshooting Common Issues
Calls aren’t forwarding at all First, verify the Help Genie number is entered correctly in your forwarding settings (no extra digits, correct country code). Then test by calling your Help Genie number directly (bypass forwarding) to confirm the genie itself is working. If direct calls work but forwarded calls don’t, the issue is in your phone system settings.
Voice genie answers but caller hears silence This is usually a codec mismatch between your phone system and Help Genie. If you’re on a VoIP system, check that your provider supports G.711 audio codec. Contact Help Genie support if the issue persists.
Forwarding works sometimes but not consistently Check if your phone system has a maximum simultaneous call forwarding limit. Some business phone plans limit concurrent forwarded calls to 2-3. If you regularly exceed this, ask your provider about increasing the limit.
Callers hear your old voicemail before the genie Your voicemail is intercepting calls before they forward. Disable voicemail on the forwarded line or increase the number of rings before voicemail picks up so that forwarding activates first.
Integration worked fine but suddenly stopped Check if your phone provider pushed an update or if your billing status changed. Some carriers disable call forwarding when accounts are past due. Also verify the forwarding setting is still active in your admin panel.
Staff and genie are both trying to answer Your forwarding type is set to “always” but your staff are still answering desk phones. Either switch to “no answer” forwarding (genie only picks up if staff don’t) or remove desk phones from the ring group for that number.
Quick Reference: Provider-Specific Setup Links
For the most popular phone systems, here’s where to find forwarding settings:
- RingCentral: Admin Portal > Phone System > Phone Numbers > Call Handling
- Grasshopper: Settings > Phone Numbers > Call Forwarding
- Google Voice: Settings > Calls > Call Forwarding
- Vonage Business: Admin > Phone Numbers > Routing
- 8x8: Admin Console > Phone Numbers > Forwarding
- Microsoft Teams: Teams Admin Center > Voice > Phone Numbers
- Zoom Phone: Admin Portal > Phone System Management > Call Routing
For traditional carriers (AT&T, Verizon), the *72 (forward all) and *71 (forward on no answer) dial codes work in most regions. Call your carrier’s business support line if they don’t.
Haven’t set up your voice genie yet? Start your free Help Genie trial and get your phone number in minutes.
Need help with your specific phone system? Check our blog on after-hours call handling for service businesses for more context, or explore voice genies for your industry: trades, real estate, automotive, hotels, or events.
Ready to connect your phone system? Get your Help Genie number today and start answering every call with AI-powered intelligence.
Keep exploring
Further reading and useful tools
Route Calls Across Locations in 7 Steps (No Missed Calls)
Set up AI call routing for multi-location businesses in 7 steps. Route by area code, time zone, and department from one dashboard, for 2 to 10 sites.
GuideHow to Connect Help Genie to Your CRM with Webhooks
Set up webhooks to send Help Genie conversation data, leads, and call events directly to Salesforce, HubSpot, or any CRM through Zapier, Make, or custom integrations.
Industry InsightsWhen Your Best Leads Call After Hours and Nobody Answers
Data showing how much revenue service businesses lose to unanswered after-hours calls. Includes per-industry missed call rates, conversion data, and cost analysis.
Industry InsightsAI vs Human Support: Who Actually Wins on Satisfaction?
AI-handled support now scores 97% CSAT, up from 78%. But 75% of customers still want a human for complex issues. See where each one wins.
ComparisonHelp Genie vs Answering Services: Cost and Coverage
Compare Help Genie's voice AI against a traditional answering service on cost, coverage, and booked jobs. An honest look at which wins for your business.
ComparisonHelp Genie vs Voicemail: What After-Hours Calls Cost You
Voicemail is the default after-hours answer for most small businesses, and it quietly loses jobs. Compare it against a voice AI genie that books the call instead.
Help Genie
The Help Genie Team
The Help Genie team builds voice AI genies that resolve everyday support on their own — across phone, chat, web, and email — in your voice, 24/7. We write about what we learn shipping it to real businesses.
Building voice AI for 11+ industries, from trades to hospitality.
- voice AI
- customer support
- lead capture
- multi-channel genies