What you’ll learn in this guide:
- How to brand your agent page with your company colors, logo, and messaging
- The three ways to share your voice genie: agent page link, website embed, and QR code
- Step-by-step setup for the JavaScript widget and iframe embed
- How to generate and style QR codes for print materials
Prerequisites
This guide assumes you already have:
- A Help Genie account with at least one active voice genie
- Your company logo file (PNG, JPG, WebP, or SVG)
- Your brand colors (hex codes like #4E9CFF)
Your voice genie needs to go where your customers are. Some will call a phone number. Others will visit your website. Some will scan a QR code on a business card or flyer. Help Genie gives you a branded agent page for each genie plus multiple ways to embed it across your digital and print presence.
A well-branded agent page builds trust before the conversation starts. When a caller lands on a page with your logo, your colors, and a clear welcome message, they know they’re in the right place.
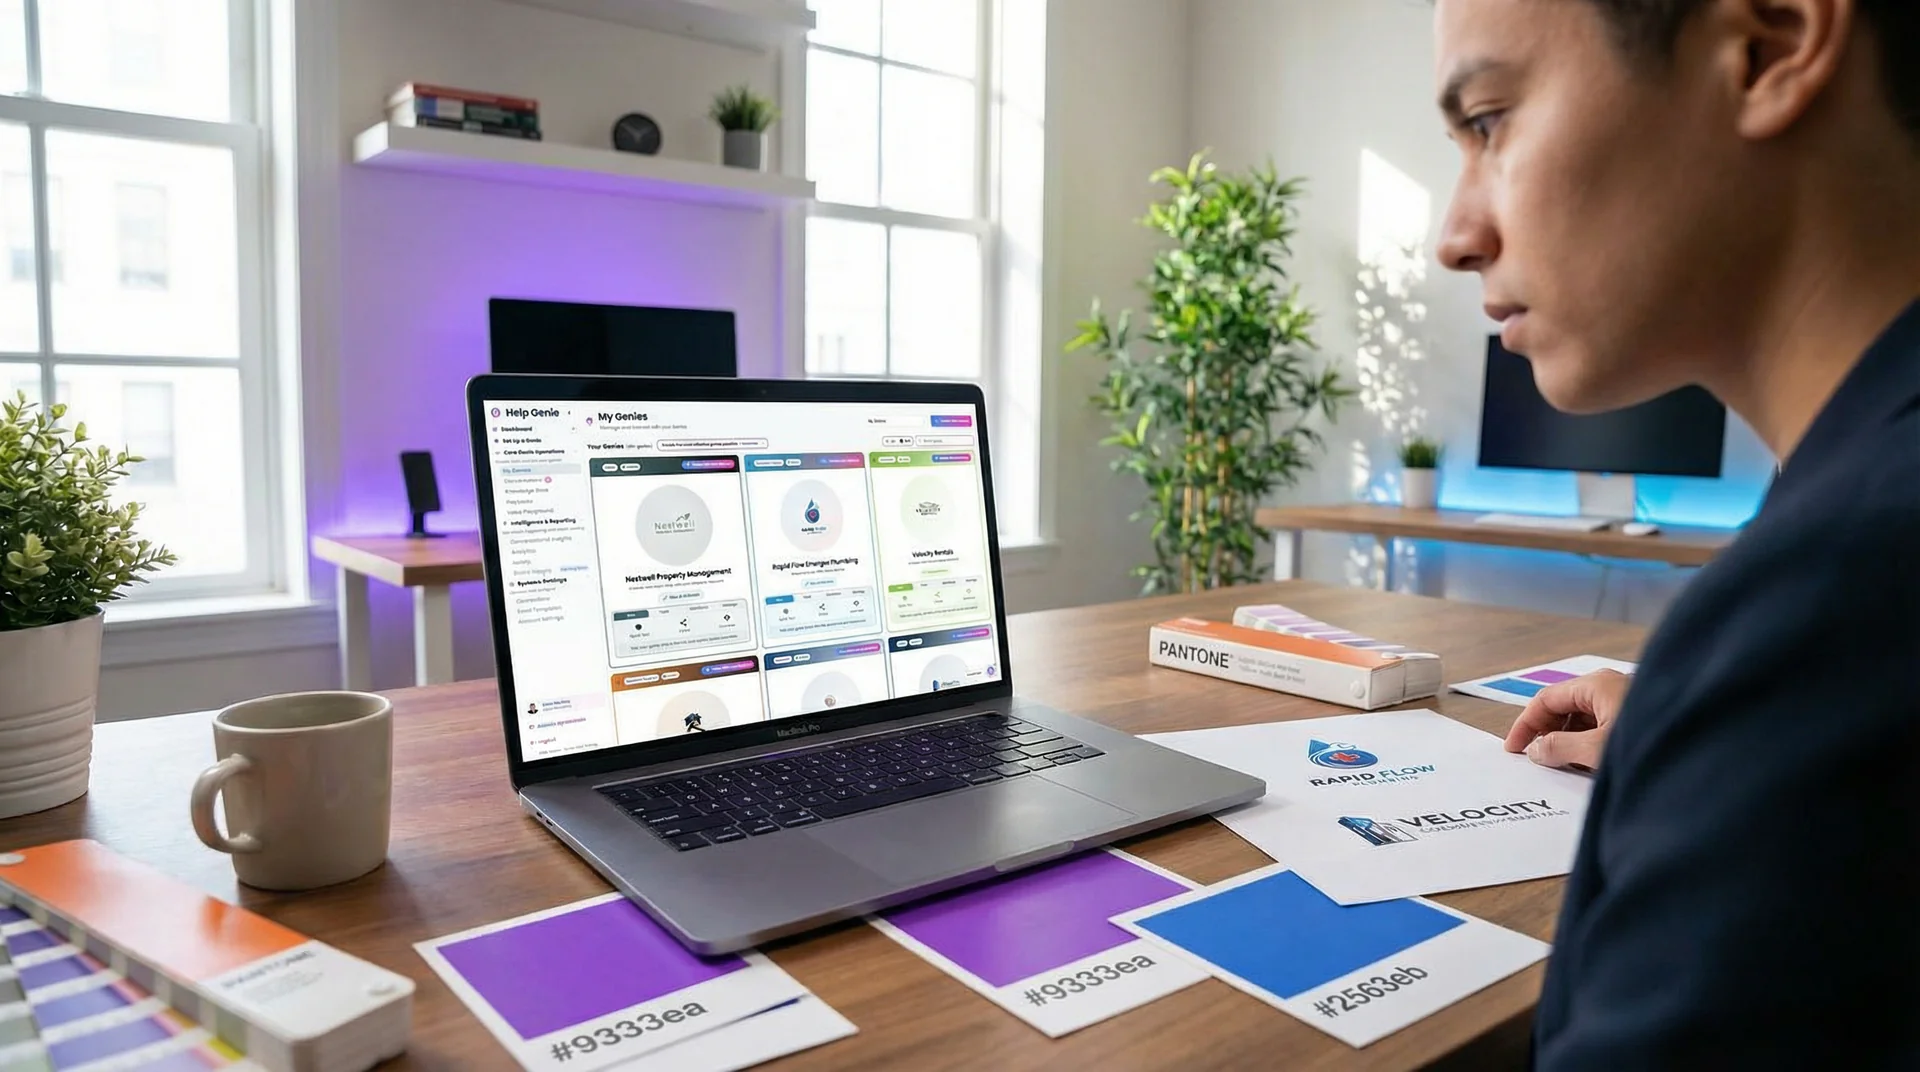
Step 1: Brand Your Agent Page
Every voice genie gets an automatically generated public page at helpgenie.ai/live-agent/[your-url-name]. Out of the box, it works. But it looks generic. Branding it takes about five minutes and makes a real difference.
What to do:
- Open your genie’s settings and go to the Distribution Panel tab
- Set your URL name (this becomes your public link, so keep it clean:
your-company-nameoryour-company-support) - Upload your company logo (200x80px recommended for best display)
- Upload a genie avatar (200x200px, displayed as a circle, replace the default avatar with your brand mascot or team photo)
- Set your brand color using your company’s primary hex code
- Write a welcome message that tells visitors what your genie can help with
Brand color tips:
- Use your primary brand color, not a secondary accent
- Help Genie automatically generates complementary gradients from your chosen color
- Dark colors work better for text-heavy interfaces, bright colors work for accent elements
- Test on mobile since most visitors will interact from their phones
Welcome message examples by industry:
| Industry | Example Welcome Message |
|---|---|
| Trades | ”Need a plumber, electrician, or HVAC tech? Tell me what’s going on and I’ll get you scheduled.” |
| Real Estate | ”Looking for your next home? I can answer questions about our listings and schedule showings.” |
| Hotels | ”Welcome to [Hotel Name]. I can help with reservations, amenities, local recommendations, and more.” |
| Automotive | ”Interested in a vehicle or need service? I’m here to help with inventory, test drives, and appointments.” |
Help Genie Tip: Your welcome message is the first thing visitors read. Keep it under two sentences. Tell them what the genie does and invite them to start talking. Skip corporate jargon.
Step 2: Add Product Images and Meta Tags
Beyond the basics, your agent page supports additional elements that make it feel like a real page on your website, not a third-party tool.
What to do:
- Upload a product image that represents your business (a photo of your storefront, your team, or your product)
- Set your page title for browser tabs and search results
- Write a meta description for SEO (this shows in Google results if someone searches for your agent page)
- Add your Google Analytics ID if you want to track page visits alongside your main website analytics
- Configure a redirect URL if you want a “Visit Our Website” link on the page
What this looks like in practice:
- The product image appears on your agent page as a visual header
- Meta tags help your agent page rank when people search for your business + “call” or “contact”
- Google Analytics tracking lets you see how many visitors interact with your genie from this page vs. your main site
Step 3: Embed on Your Website with the JavaScript Widget
The JavaScript widget adds a floating button to your website. Click it and your voice genie opens in an expandable chat interface. This is the recommended embed method for most websites.
What to do:
- In the Distribution Panel, find the JavaScript Widget section
- Copy the embed code snippet
- Paste it into your website’s HTML, just before the closing
</body>tag - Configure the widget options:
Widget configuration options:
| Setting | Options | Default |
|---|---|---|
| Position | bottom-right, bottom-left, top-right, top-left | bottom-right |
| Primary Color | Any hex color | Your brand color |
| Button Color | Any hex color | Matches primary |
| Button Size | Pixel value | 60px |
| Offset X | Pixels from edge | 20px |
| Offset Y | Pixels from edge | 20px |
The widget works on any website platform: WordPress, Squarespace, Wix, Shopify, custom HTML, React, or any site where you can add a script tag. No dependencies, no framework conflicts.
What to do after pasting:
- Load your website and verify the floating button appears
- Click it and test a conversation
- Check that your brand colors show correctly
- Test on mobile (the widget is responsive and touch-optimized)
- Verify microphone permissions work (the browser will prompt for access)
Step 4: Alternative Embed with iFrame
If you want your voice genie embedded directly in a page section rather than as a floating button, use the iframe embed. This works well for dedicated “Contact Us” pages or landing pages where the genie is the primary interaction.
What to do:
- In the Distribution Panel, find the HTML iFrame section
- Copy the iframe code
- Paste it into the page where you want the genie to appear
- Adjust width and height to fit your layout
iframe embed example:
<iframe
  src="https://helpgenie.ai/embed/your-genie-url"
  width="100%"
  height="600"
  allow="microphone"
  style="border: none; border-radius: 12px;"
></iframe>
Important: The allow="microphone" attribute is required for voice interactions. Without it, visitors can only use text chat.
When to use iframe vs. widget:
| Use iFrame | Use Widget |
|---|---|
| Dedicated contact page | Every page on your site |
| Landing pages | General website presence |
| Embedded in a specific section | Floating, always-available access |
| You control exact placement and size | You want minimal page changes |
Step 5: Generate and Style QR Codes
QR codes let you put your voice genie on physical materials: business cards, flyers, in-store signage, vehicle wraps, trade show banners. Scan the code and the caller lands on your branded agent page.
What to do:
- In the Distribution Panel, find the QR Code section
- Your QR code is auto-generated pointing to your agent page URL
- Customize the styling:
QR code styling options:
| Setting | What It Does |
|---|---|
| Foreground color | The color of the QR code dots (default: black) |
| Background color | The background behind the dots (default: white) |
| Corner style | Square, rounded, or dots |
| Center logo | Embed your company logo in the center of the QR code |
| Logo size | 30-70% of the QR code center area |
- Download the QR code as a PNG file
- Test it with your phone camera before printing anything
QR code placement ideas:
- Business cards: Back of card with “Talk to our AI assistant” text
- Service vehicles: Side panel with “Scan to schedule service”
- Storefront window: “Scan for instant help, 24/7”
- Trade show booth: Large format banner with QR code
- Invoices and estimates: “Questions? Scan to talk with us”
- Email signatures: Small QR code linking to your agent page
Help Genie Tip: When printing QR codes, always use high contrast between foreground and background colors. A dark code on a light background scans most reliably. If you add a center logo, keep it at 40% or smaller so the code remains scannable. Always test the printed version before ordering a large batch.
Sharing Your Agent Page Link Directly
Not everything needs an embed or QR code. Sometimes a direct link works best.
Your agent page URL (helpgenie.ai/live-agent/your-company-name) can be shared:
- In email signatures
- In social media bios
- In SMS and WhatsApp messages to customers
- In Google Business Profile as a contact link
- In automated email responses (“Have a question? Talk to our AI assistant: [link]”)
The link works on any device with a browser. No app download required. Mobile visitors get a touch-optimized interface with a large microphone button for easy voice interaction.
Your voice genie is ready. Now put it everywhere your customers are. Set up your agent page in Help Genie and start getting conversations from your website, print materials, and direct links.
Keep exploring
Further reading and useful tools
Route Calls Across Locations in 7 Steps (No Missed Calls)
Set up AI call routing for multi-location businesses in 7 steps. Route by area code, time zone, and department from one dashboard, for 2 to 10 sites.
GuideHow to Connect Help Genie to Your CRM with Webhooks
Set up webhooks to send Help Genie conversation data, leads, and call events directly to Salesforce, HubSpot, or any CRM through Zapier, Make, or custom integrations.
Industry InsightsWhen Your Best Leads Call After Hours and Nobody Answers
Data showing how much revenue service businesses lose to unanswered after-hours calls. Includes per-industry missed call rates, conversion data, and cost analysis.
Industry InsightsAI vs Human Support: Who Actually Wins on Satisfaction?
AI-handled support now scores 97% CSAT, up from 78%. But 75% of customers still want a human for complex issues. See where each one wins.
ComparisonHelp Genie vs Answering Services: Cost and Coverage
Compare Help Genie's voice AI against a traditional answering service on cost, coverage, and booked jobs. An honest look at which wins for your business.
ComparisonHelp Genie vs Voicemail: What After-Hours Calls Cost You
Voicemail is the default after-hours answer for most small businesses, and it quietly loses jobs. Compare it against a voice AI genie that books the call instead.
Help Genie
The Help Genie Team
The Help Genie team builds voice AI genies that resolve everyday support on their own — across phone, chat, web, and email — in your voice, 24/7. We write about what we learn shipping it to real businesses.
Building voice AI for 11+ industries, from trades to hospitality.
- voice AI
- customer support
- lead capture
- multi-channel genies